Lab 2: Design the BPMN Diagram for the Automation
After creating a new automation project, you can start designing the BPMN diagram for the process to automate. You can create the diagram manually or by using the RPA Recorder, which records your actions, creates each corresponding step in the diagram, and generates the action steps based on your mouse and keyboard interactions.
Step 1: Open the Project for Editing and Start RPA Recorder
Follow these steps to edit your process BPMN diagram using RPA Recorder:
-
In RPA Manager, click the My RPA.
-
Click My Processes.
-
Search for the MuleSoft blog sign-up_<Your Initials> project in the process list and click the process name to open it.
-
In the Automation panel, click the Record BPMN () button.
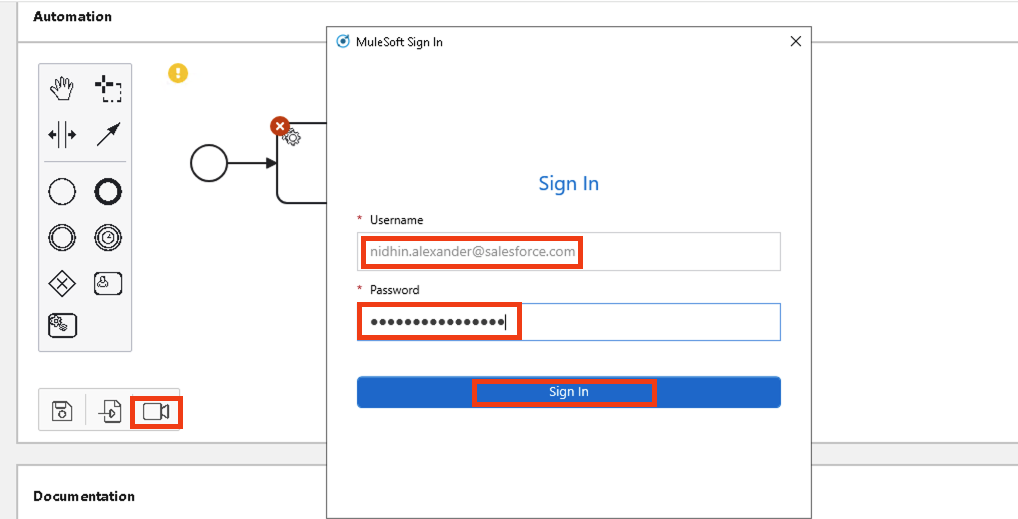
If you see a pop-up window asking for permission, select the checkbox to allow RPA Manager to open RPA Recorder and click Open.
-
Provide your RPA Manager user account password and click Login. This is the same password you used to login to the RPA Manager.
Step 2: Record Activity Steps with RPA Recorder
After you log in to RPA Recorder, you can start the activity recording process. In this process, you alternate between adding activity steps in RPA Recorder and performing the actual actions in your computer that you want to record and include in the BPMN diagram. This procedure continues until you perform the last action and finish the recording.
To record actions with RPA Recorder and create the BPMN diagram, follow these steps:
-
In RPA Recorder, click on the Start Recording (the record icon) button and add the first activity step:
-
In the activity name field, write 'Open blog sign-up page'.
-
In the drop down menu to the right, select 'Web task'
-
Click Add.
-
In the browser session that opens, navigate to the https://blogs.mulesoft.com/signup-for-our-newsletter/ URL.
-
-
In the RPA Recorder panel, click the Add activity (the add PLUS icon) button and add a new activity step:
-
Write 'Sign-up for blog' in the activity name field.
-
In the drop down menu, select Web task.
-
Select the Continue with already existing web session checkbox.
-
Click Add
-
In the sign-up page, provide an email address of your choice and click the accept (>) button.
-
-
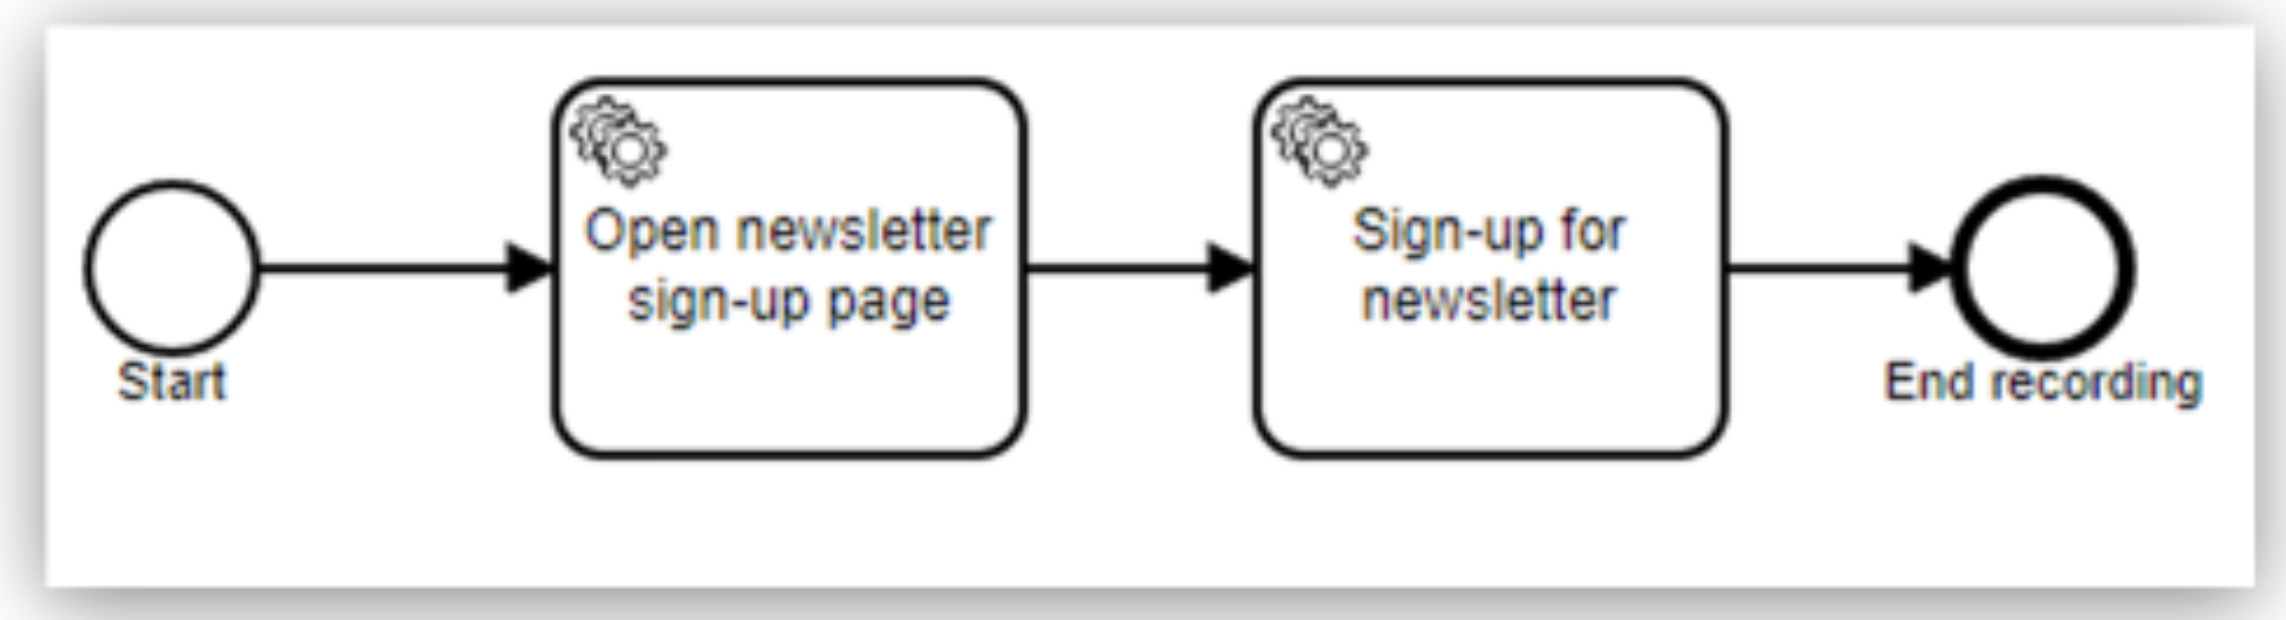
In the RPA Recorder panel, click the Stop recording (The CHECKERED FLAG icon) button.
-
Confirm that RPA Recorder generates a BPMN diagram as follows:
After you finish the recording process, upload the newly-created BPMN diagram to RPA Manager to update the model of your current automation project.
Step 3: Upload the BPMN Diagram to RPA Manager
Follow these steps to upload the BPMN diagram created with RPA Recorder to RPA Manager:
-
In RPA Recorder, click the Edit, Merge and Upload Recordings () (PENCIL icon) button.
-
In the Automation panel, click the Upload to server () button.
-
In the confirmation window that shows after the upload finishes successfully, Click OK.
-
Close the RPA Recording Editor window.
-
Close the RPA Recorder window.
-
Return to RPA Manager and refresh the browser page.
-
Click Publish.
-
Click the confirmation checkbox and then click Release to Build.
-
After the Project has been published to the Build hase it will show 2 errors, this is expected behavior.
Next Steps
Now that you’ve created a BPMN diagram for your automation project and published it, it’s time to move to the build phase, in which you can edit the diagram and specify the actions to execute for each action step.
Please proceed to Lab 3 - Build the automation from the BPMN Diagram